Das Verfügbarmachen des Spiels als Web-Version innerhalb dieses Blogs
Nico hat mir den Code des Spiels in Form eines GitHub-Repositories zukommen lassen. Ich wollte das Spiel anschließend als Web-Version verfügbar machen. Dafür habe ich Nicos Repository als Submodul in mein eigenes Repository des Blogs eingebunden.
git submodule add git@github.com:SetsunaiCodes/Star-Guard.git game/Star-GuardZukünftig kann ich das Spiel einfach aktualisieren, indem ich das Submodul aktualisiere.
git submodule update --remoteDann habe ich noch den Deployment-Prozess angepasst.
 steps:
   - uses: actions/checkout@v4.1.1
+    with:
+      submodules: true
+  - uses: actions/setup-python@v5.0.0
+    with:
+      cache: pip
   - uses: actions/setup-node@v4.0.0
     with:
       cache: npm
   - run: >
+      pip install -r requirements.txt &&
+      pygbag --ume_block 0 --icon game/favicon.png
+      --title "Star Guard" --can_close 1
+      --build game/pygbag &&
       npm ci &&
       npm run build
   - uses: cloudflare/pages-action@v1.5.0
     with:
       apiToken: ${{ secrets.CLOUDFLARE_API_TOKEN }}
       accountId: 9839aabb4253ed85d80549a8f99ee832
       projectName: fiblog
       directory: dist
       gitHubToken: ${{ secrets.GITHUB_TOKEN }}
Ich habe eine eigene Seite für das Spiel erstellt.
---
import BaseHead from '../components/BaseHead.astro';
import Header from '../components/Header.astro';
import Footer from '../components/Footer.astro';
---
<!doctype html>
<html lang="de">
<head>
<BaseHead
title="Das Spiel"
description="Hier kann das Spiel, das wir im Rahmen des Projekts für unseren Arcade-Automaten entwickelt haben, als Web-Version gespielt werden."
image="/blog/making-the-game-available-as-a-web-version-within-this-blog/hero.jpg"
/>
<style>
main {
width: 100%;
}
.container {
width: 720px;
max-width: 100%;
margin: auto;
}
.game-wrapper {
position: relative;
max-height: 75vh;
max-width: 75vh;
margin: auto;
}
#overlay {
position: absolute;
top: 0;
height: 100%;
width: 100%;
border-radius: 8px;
background-color: rgba(0, 0, 0, 75%);
display: flex;
align-items: center;
justify-content: center;
color: white;
}
.fullscreen-wrapper {
text-align: center;
margin-bottom: 1em;
}
#fullscreen {
all: unset;
color: var(--accent);
text-decoration-line: underline;
cursor: pointer;
}
</style>
<script>
const overlay = document.getElementById('overlay')!;
const overlayClasses = overlay.classList;
const game = document.getElementById('game')!;
overlay.addEventListener('click', () => {
game.focus();
overlayClasses.add('invisible');
}
);
overlay.addEventListener('keydown', (event) => {
if (event.key !== 'Enter') {
return;
}
game.focus();
overlayClasses.add('invisible');
}
);
game.addEventListener('blur', () =>
overlayClasses.remove('invisible'),
);
document
.getElementById('fullscreen')!
.addEventListener('click', () =>
game.requestFullscreen(),
);
</script>
</head>
<body>
<Header />
<main>
<div class="container">
<h1>Das Spiel</h1>
<p>
Hier kann das Spiel, das wir im Rahmen des Projekts
für unseren Arcade-Automaten entwickelt haben, als
Web-Version gespielt werden.
</p>
</div>
<div class="game-wrapper">
<iframe
id="game"
src="https://fiblog.maxoverlack.dev/play"
tabindex="-1"
></iframe>
<div id="overlay" tabindex="0">
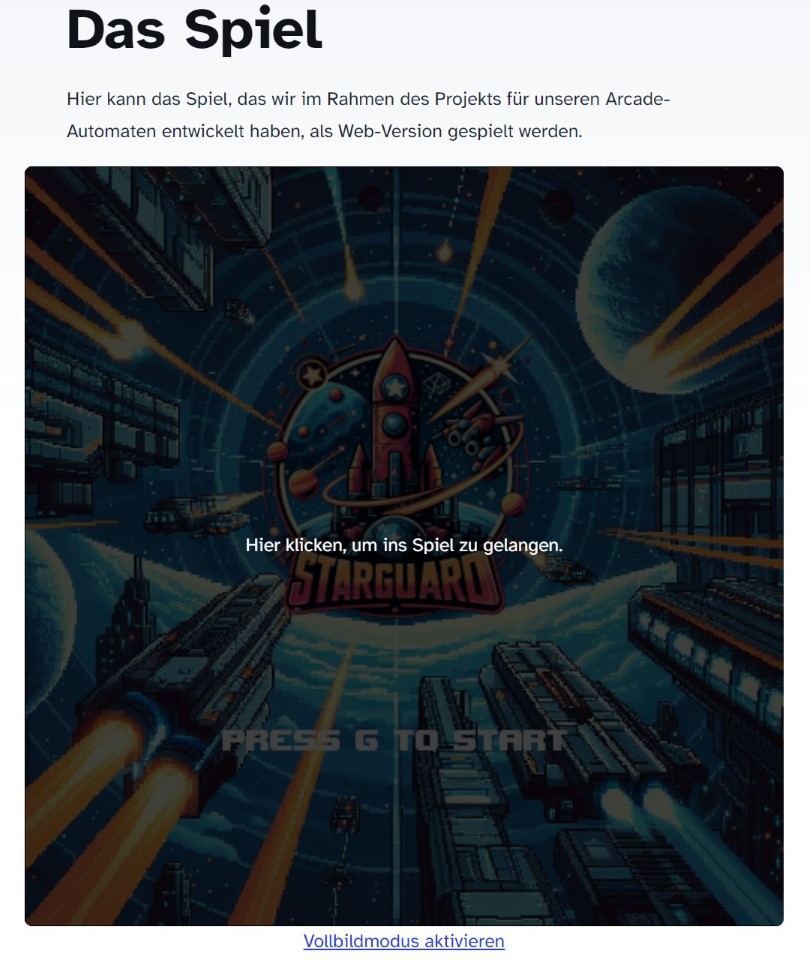
<p>Hier klicken, um ins Spiel zu gelangen.</p>
</div>
</div>
<div class="fullscreen-wrapper">
<button id="fullscreen">
Vollbildmodus aktivieren
</button>
</div>
<div class="container">
<h2>Steuerung</h2>
<ul>
<li>
<strong>W</strong>, <strong>A</strong>,
<strong>S</strong> und <strong>D</strong> zum
Bewegen des Cursors
</li>
<li>
<strong>O</strong> zum Platzieren eines Turms
</li>
<li>
<strong>L</strong> zum Wechseln zwischen den
verschiedenen verfügbaren Türmen
</li>
</ul>
<p>
<strong>Tipp:</strong> Gelange direkt ins Spiel,
indem du
<a href="https://fiblog.maxoverlack.dev/play">
fiblog.maxoverlack.dev/play
</a>
in deinem Browser eingibst.
</p>
<p>
Der
<a
href="https://github.com/SetsunaiCodes/Star-Guard"
>
Quellcode
</a>
des Spiels ist verfügbar.
</p>
</div>
</main>
<Footer />
</body>
</html>Das fertige Ergebnis sieht dann so aus.
Gehe zur Web-Version des Spiels.